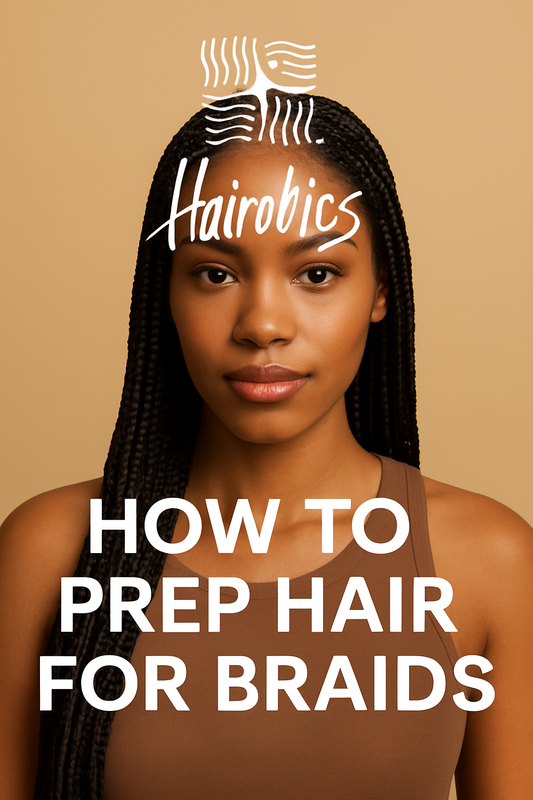
Braids are one of the most protective and stylish hairstyles for natural hair — but the real magic happens before the braiding starts. Prepping your hair properly is the difference between braids that last four weeks versus eight, between a healthy scalp and an itchy one, and between retaining length versus experiencing breakage.
Whether you're getting knotless braids, box braids, twists, feed-ins, or cornrows, the process of preparing your hair is the same. This guide walks you through the exact steps to prep your natural hair for braids so you can protect your strands, encourage growth, and enjoy a long-lasting, beautiful style.
Why Prepping Matters Before Getting Braids
Many people skip the prep stage because they’re in a rush or assume the stylist will handle it. But prepping your hair is essential for:
✔️ Reducing breakage
✔️ Preventing dryness
✔️ Avoiding scalp irritation
✔️ Ensuring smoother installation
✔️ Making your braids last longer
✔️ Retaining length while wearing a protective style
A braid is only as strong as the hair underneath — and prepping ensures your hair is strong, moisturized, and ready to handle weeks of tension.
Step 1: Start With a Clean Slate — Shampoo Thoroughly
The foundation of braid prep is a clean scalp and clean hair.
Why this matters:
-
Dirt, product buildup, and oils can cause itching and flaking under braids.
-
Clean hair helps the braider part more easily for neat sections.
-
A clean scalp promotes better hair growth.
How to do it:
Use a sulfate-free, moisturizing shampoo to deeply cleanse your scalp while keeping your hair hydrated.
Pro Tip:
If you normally wash once a week, wash your hair twice before getting braids — a double wash removes buildup thoroughly.
Step 2: Deep Condition for Strength + Moisture
Right after cleansing, it’s crucial to restore hydration and strength with a deep conditioner.
Why deep conditioning is essential before braids:
-
Braids place tension on your roots
-
Your ends are more exposed and vulnerable to dryness
-
Hydrated hair is more flexible and less likely to snap
Look for conditioners that strengthen and moisturize without creating a heavy film.
Let it sit for at least 20–30 minutes under heat or a plastic cap for maximum penetration.
Step 3: Detangle Thoroughly — and Gently
Detangling is one of the most important steps in your braid prep routine.
Benefits of detangling before braids:
-
Prevents excessive shedding during installation
-
Helps the braider part more cleanly
-
Reduces tension and breakage during the braiding process
Start detangling from the ends to the roots using a wide-tooth comb or a detangling brush.
Step 4: Strengthen With a Protein Treatment (If Needed)
If your hair has been feeling weak, mushy, overly soft, or breaking easily, a protein treatment before braids is a smart move.
Signs you may need protein:
-
Excessive shedding
-
Lifeless curls
-
Hair feels “too soft”
-
Breakage during styling
-
Recent heat damage or coloring
Protein reinforces the hair shaft and prepares it for tension.
Do this step only if your hair needs it — not every wash day.
If your hair is already strong and balanced, skip it.
Step 5: Trim Your Ends
Braids can expose weak, splitting ends — and leave them more vulnerable to breakage. Trimming before braids helps prevent:
-
Tangled ends
-
Knots forming in braids
-
Breakage when taking the style down
-
Ragged or uneven braid lengths
You don’t need a major haircut; a light dusting or shape-up is enough.
Step 6: Moisturize Your Hair Properly Before Installation
Braids can last 4–8 weeks, so your hair needs deep moisture to stay healthy underneath. This is the step where Hairobics products shine.
Use the L.O.C. method for maximum hydration:
L — Liquid:
Water or a lightweight mist like Hairobics Raaw Roots Moisturizing Spray to hydrate the strands.
O — Oil:
Seal in the hydration with Hairobics Scalp Rejuvenator Oil or Hairobics Hair & Scalp Booster.
C — Cream:
Use the Hairobics Leave-In Treatment to add slip, softness, and long-lasting moisture.
This combination keeps your hair soft and nourished while inside the braids.
Step 7: Stretch Your Hair (Optional, but Helpful)
Many braiders prefer stretched hair because it:
-
Makes parting cleaner
-
Reduces tangles
-
Allows the braids to lay smoother
-
Minimizes unnecessary pulling
Stretching methods:
-
Blow-dry on low heat
-
Braid-out
-
Twist-out
-
African threading
-
Banding
If using heat, always apply a heat protectant.
Step 8: Prepare Your Scalp
Your scalp is the foundation of your braids — so take care of it beforehand.
How to prep your scalp:
-
Apply light oil to nourish and reduce irritation
-
Avoid heavy products that clog pores
-
Ensure there are no open sores or tender areas
-
Consider a gentle scalp massage
Hairobics Scalp Rejuvenator Oil is ideal for this step because it increases circulation and keeps the scalp soothed.
Step 9: Don’t Get Braids If Your Hair or Scalp Is Already Damaged
Avoid braids if you are experiencing:
-
Scalp inflammation
-
Thinning edges
-
Tender spots
-
Recent chemical damage
-
Severe breakage
Protective styles should help, not harm. If your hair is already fragile, it may not be ready for tension.
Step 10: Know When and How to Communicate With Your Braider
A good braider will respect your hair health. Make sure to:
-
Ask for medium tension — not tight
-
Communicate if a section hurts
-
Request larger parts if your hair is fine or thin
-
Bring your preferred products
-
Make sure they don’t grip your edges too tightly
Remember: Pain is NOT normal.
If it hurts during installation, it will hurt even more in the days after.
Step 11: Prep Your Edges Properly
Your edges are the most delicate area on your head.
Protect them by:
-
Applying a thin layer of oil
-
Avoiding heavy gel
-
Skipping extremely tiny braids
-
Leaving baby hairs out if necessary
Hairobics Hair & Scalp Booster is perfect for edge protection because it's lightweight and strengthens follicles.
Step 12: Dry Your Hair Completely Before Braiding
Braiding damp or wet hair can lead to:
-
Mildew smell
-
Excessive breakage
-
Mold growth inside braids
-
Scalp irritation
Make sure your hair is fully dry — either air-dryed or gently blow-dried.
Step 13: Choose the Right Style for Your Hair Type
Not all braid styles suit every hair density or texture.
If you have fine hair:
Opt for medium-sized braids or knotless styles.
If you have thick, coarse hair:
You can handle traditional box braids, large knotless braids, or twists.
If you’re transitioning:
Choose styles that reduce tension on the line of demarcation, like twists or passion braids.
Step 14: Prep Mentally and Logistically
For long braid appointments, prepare by:
-
Eating beforehand
-
Bringing snacks
-
Wearing comfortable clothing
-
Charging your phone
-
Bringing headphones or entertainment
Being relaxed helps make the experience enjoyable.
Post-Prep: What to Do Right Before the Appointment
Before walking into your appointment:
✔️ Have your hair clean, dry, and detangled
✔️ Bring the products you prefer
✔️ Wear your natural hair loose (no buns or ponytails)
✔️ Know your desired braid length and size
✔️ Bring pictures for reference
Aftercare Begins Before the Style Is Even Installed
The way you prep affects how your hair behaves for the next 4–8 weeks.
Strong, moisturized hair = strong, healthy braids.
Dry, brittle hair = breakage and thinning.
Investing time into your prep routine will give you:
-
Longer-lasting braids
-
Minimal shedding
-
Healthier edges
-
Softer takedown
-
Better length retention
Best Hairobics Products for Prepping Your Hair for Braids
Here is your exact braid-prep product kit using Hairobics:
✔️ Hairobics Raaw Roots Moisturizing Spray
Hydrates your hair before sealing in moisture. Great for dry or low-porosity hair.
✔️ Hairobics Leave-In Treatment
Adds softness, slip, and long-lasting moisture.
✔️ Hairobics Hair & Scalp Booster
Strengthens follicles, protects edges, and nourishes your scalp.
✔️ Hairobics Scalp Rejuvenator Oil
Seals in moisture, promotes circulation, and prevents dryness under braids.
These products create the perfect moisture-balance to protect your hair while it’s tucked away.
Final Thoughts: Prepping Makes or Breaks Your Braids
Healthy braids don’t start at the salon — they start at home.
When you take the time to detox your scalp, strengthen your hair, moisturize properly, and protect your ends, you set your protective style up for success. Prepping is the key to:
-
Maximum moisture
-
Minimal breakage
-
Beautiful, long-lasting braids
-
Stronger hair when you take the style down
If you want your braids to help your hair grow — not damage it — proper prep is non-negotiable.