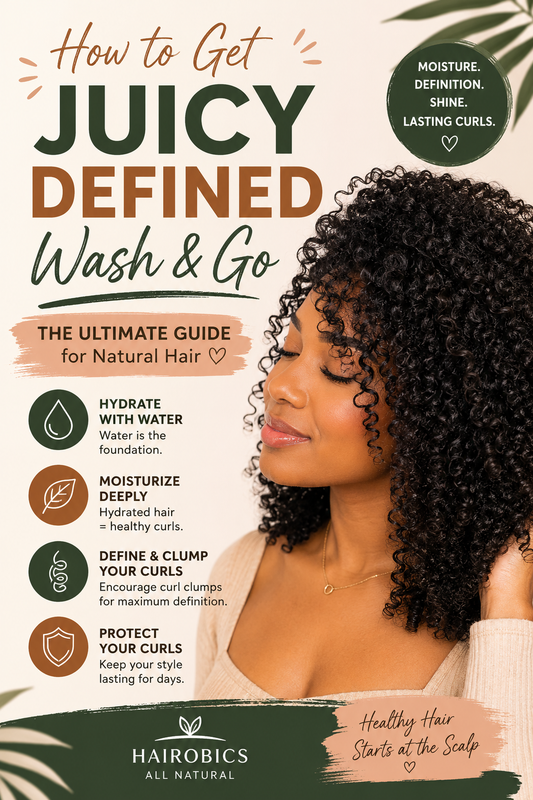
A juicy, defined wash and go is one of the most desired hairstyles in the natural hair community. It showcases your natural curl pattern, keeps your hair looking healthy, and can last several days when done correctly. Yet many people struggle with frizz, dryness, shrinkage, lack of definition, or curls that disappear after just one day.
The good news is that achieving a juicy wash and go is not about luck. It comes down to understanding your hair, using the right techniques, and following a consistent routine.
Whether you have 3A curls, 3C coils, 4A spirals, 4B texture, or 4C hair, this guide will show you exactly how to get a juicy defined wash and go that lasts.
What Is a Wash and Go?
A wash and go is a styling method where natural curls are cleansed, moisturized, defined, and allowed to form their natural pattern without twisting, braiding, or stretching.
The goal is to:
- Enhance natural curl definition
- Increase moisture retention
- Minimize frizz
- Create long-lasting curls
- Showcase your natural texture
A properly executed wash and go should leave hair looking:
- Moisturized
- Soft
- Shiny
- Defined
- Healthy
- Full of movement
Why Most Wash and Gos Fail
Before learning what works, it's important to understand what causes problems.
Common mistakes include:
Starting on Dirty Hair
Product buildup prevents moisture from entering the hair shaft.
Signs:
- Dull curls
- Heavy hair
- Flaking
- Poor definition
Always start with clean hair.
Not Using Enough Water
Water is the foundation of curl definition.
Many people apply products to damp hair when their hair actually needs to be soaking wet.
Water:
- Hydrates curls
- Helps products distribute evenly
- Reduces frizz
- Encourages clumping
The wetter the hair, the better the curl definition.
Using Too Much Product
More product does not equal more definition.
Too much product can cause:
- Flakes
- Crunchiness
- Buildup
- Dull appearance
Focus on technique rather than excessive product use.
Skipping Moisture
Dry hair cannot maintain definition.
When hair lacks moisture:
- Frizz increases
- Curls separate
- Breakage increases
- Styles don't last
Hydration must come first.
Step 1: Start With a Healthy Scalp
Beautiful curls start at the scalp.
A healthy scalp creates an environment for stronger, healthier hair growth.
Before styling:
- Remove buildup
- Cleanse thoroughly
- Massage the scalp
- Improve circulation
The Hairobics Hair & Scalp Booster can be used as part of a healthy scalp care routine to support stronger-looking hair and scalp health.
Step 2: Clarify When Needed
Many people skip this step.
Clarifying removes:
- Product buildup
- Excess oils
- Hard water minerals
- Dirt
Clarify every 4–6 weeks.
Benefits include:
- Better curl formation
- Increased shine
- Improved moisture absorption
- Better product performance
Step 3: Deep Condition
Deep conditioning is essential for juicy curls.
Benefits:
- Restores moisture
- Improves elasticity
- Reduces breakage
- Enhances curl definition
Look for ingredients such as:
- Aloe vera
- Shea butter
- Coconut oil
- Jojoba oil
- Honey
Leave the treatment on for 20–30 minutes.
Step 4: Detangle Correctly
Detangling creates smoother curl clumps.
Best methods:
- Finger detangling
- Wide-tooth comb
- Detangling brush
Always detangle while hair is saturated with conditioner.
Never detangle dry natural hair.
Step 5: Style on Soaking Wet Hair
This is one of the biggest secrets to a juicy wash and go.
Hair should be:
- Dripping wet
- Fully saturated
- Easy to separate
Water encourages curls to naturally group together.
The result:
- Better curl clumping
- More definition
- Less frizz
Step 6: Apply Leave-In Conditioner
Leave-in conditioner provides the moisture foundation.
Benefits include:
- Hydration
- Softness
- Manageability
- Frizz control
Apply section by section.
Focus on:
- Ends
- Dry areas
- High-porosity sections
Step 7: Seal Moisture
Moisture retention is critical.
After applying leave-in:
Seal with lightweight oils such as:
- Jojoba oil
- Grapeseed oil
- Avocado oil
This helps lock hydration inside the hair shaft.
Step 8: Use a Curl Defining Product
Choose products based on your hair type.
Lighter curls often prefer:
- Lightweight gels
- Curl creams
Thicker textures may prefer:
- Stronger hold gels
- Custards
The goal is to create:
- Definition
- Hold
- Shine
Without stiffness.
Step 9: Use the Shingling Method
Shingling is one of the best techniques for maximum definition.
How to do it:
- Work in small sections.
- Apply product.
- Smooth product down each section.
- Encourage curls to form naturally.
Benefits:
- Better curl grouping
- Less frizz
- Longer-lasting results
Step 10: Try the Rake and Smooth Method
This method works well for many curl patterns.
Steps:
- Apply product.
- Rake fingers through hair.
- Smooth hair downward.
The result:
- Defined curls
- Reduced frizz
- Faster styling
Step 11: Focus on Curl Clumping
Curl clumps create juicy curls.
The larger the clump:
- The better the definition
- The less the frizz
Avoid constantly separating curls while styling.
Allow curls to form naturally.
Step 12: Dry Hair Properly
Drying affects the final result.
Avoid:
- Touching curls
- Separating curls
- Excessive movement
Options include:
Air Drying
Benefits:
- Less heat damage
- More moisture retention
Drawbacks:
- Longer drying time
Diffusing
Benefits:
- Faster drying
- More volume
- Better longevity
Use low heat and low speed.
Step 13: Don't Touch Your Hair
One major cause of frizz is touching hair before it dries.
Avoid:
- Fluffing
- Picking
- Pulling
- Separating curls
Wait until hair is completely dry.
Step 14: Break the Cast
If your gel creates a cast:
Once dry:
- Apply a small amount of oil
- Gently scrunch hair
This reveals:
- Soft curls
- Shine
- Movement
Without sacrificing definition.
How to Make a Wash and Go Last All Week
A wash and go should not only look good on day one.
It should remain defined for several days.
Sleep With a Satin Bonnet
Cotton absorbs moisture.
Satin helps preserve:
- Definition
- Moisture
- Shine
This simple habit can dramatically extend style longevity.
Pineapple Your Hair
Gather hair loosely at the top of the head.
Benefits:
- Protects curls
- Prevents flattening
- Reduces tangles
Refresh in the Morning
Use a light mist of water.
Then:
- Scrunch curls
- Smooth frizzy areas
- Add a small amount of moisturizer if needed
Avoid heavy product reapplication.
Best Ingredients for Juicy Wash and Gos
Aloe Vera
Benefits:
- Hydration
- Slip
- Definition
Flaxseed
Benefits:
- Curl enhancement
- Shine
- Hold
Marshmallow Root
Benefits:
- Softness
- Detangling
Honey
Benefits:
- Moisture retention
- Shine
Jojoba Oil
Benefits:
- Lightweight moisture
- Scalp support
Wash and Go Tips for 4C Hair
Many people believe 4C hair cannot achieve a wash and go.
That's false.
4C hair can absolutely achieve:
- Definition
- Moisture
- Curl clumping
Keys include:
- Small sections
- Plenty of water
- Strong moisture foundation
- Patience
Consistency matters more than curl type.
How Often Should You Do a Wash and Go?
Most people find success with:
- Every 5–7 days
- Weekly wash days
- Deep conditioning weekly
Avoid excessive manipulation between wash days.
Signs Your Wash and Go Is Properly Moisturized
Your hair should feel:
- Soft
- Flexible
- Smooth
Not:
- Crunchy
- Brittle
- Dry
Well-moisturized curls maintain definition longer.
Common Wash and Go Mistakes
Avoid:
- Styling on dry hair
- Skipping leave-in conditioner
- Using too much gel
- Touching hair while drying
- Sleeping without protection
- Neglecting scalp health
- Applying products unevenly
The Best Wash Day Routine for Maximum Definition
- Cleanse scalp thoroughly.
- Deep condition.
- Detangle carefully.
- Style on soaking wet hair.
- Apply leave-in conditioner.
- Seal moisture.
- Apply defining product.
- Encourage curl clumping.
- Dry completely.
- Protect curls at night.
Following this process consistently produces better results over time.
Final Thoughts
Getting a juicy defined wash and go is less about finding a miracle product and more about mastering the fundamentals. Clean hair, proper hydration, moisture retention, curl clumping, and patience are the keys to success.
When combined with a healthy scalp routine and moisture-focused products, your natural curls can become softer, shinier, more defined, and longer-lasting than ever before.
The secret is consistency. Follow the right steps every wash day, and your curls will reward you with the juicy, defined wash and go you've been dreaming about.